

Dental CAM milling bur is essential for dental labs due to its efficiency and precision. With the increasing demand for high-quality restoration, dentists rely on this technology to create bridges, crowns, and other dental restoration without breaking the bank.
The CAM milling bur enables dentists to improve the consistency of the result and make sure that each restoration is customized according to patient gum line size.
This is a versatile and reliable tool that increases the speed and quality of dental work. This article will guide you through the process of using CAD cam milling burs and their applications. A few key factors will also be discussed that will help you choose the best tool for your dental practices.

What Is a Dental CAM Milling Bur?
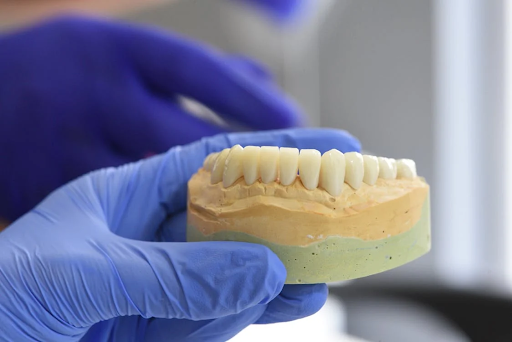
Dental CAM milling burs are an excellent tool used in CAD/CAM systems to create different types of dental restoration. The burs are designed to cut diverse dental materials such as ceramics, composites, and zirconia with high precision and give them shape.
These tools play an important role in changing digital models into physical products like crowns, inlays, and veneers.
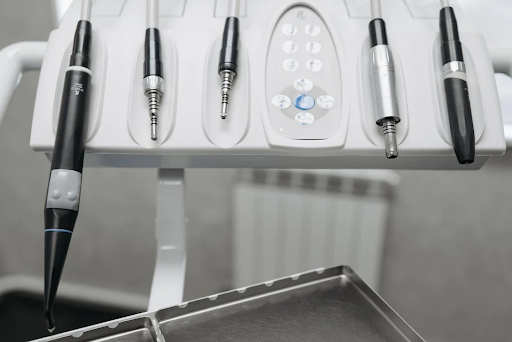
The dental cad cam milling burs primary components are the shank and cutting surface. Shanks are the parts that fit into the milling machine to hold the bur tightly in place during treatment. While the cutting surface enables the bur to remove material while maintaining accuracy.
How to Use Dental CAM Milling Burs? A Step-by-Step Guide
When using the dental CAM milling burs, make sure to follow the genuine process to create a high-quality restoration that prevents any errors.
1. Preparation Before Milling
Check the Dental CAM milling bur for any signs of wear or damage before starting the process. Inspect the bur under a bright light and feel the cutting edges. If you see any damage, then replace it before starting the milling process. Furthermore, make sure the bur is compatible with your dental milling machine and its manufacturer’s specifications.
2. Setting Up the Dental Mill
The next step is to properly set the dental mil. You can start by ensuring the machine is calibrated to the material you prefer to use and confirm the position of the spindle. Users can verify the machine speed by making some changes in the cutting settings. Once done, then load the bur into the milling machine and double-check the dental CAM milling bur to avoid any operational errors.
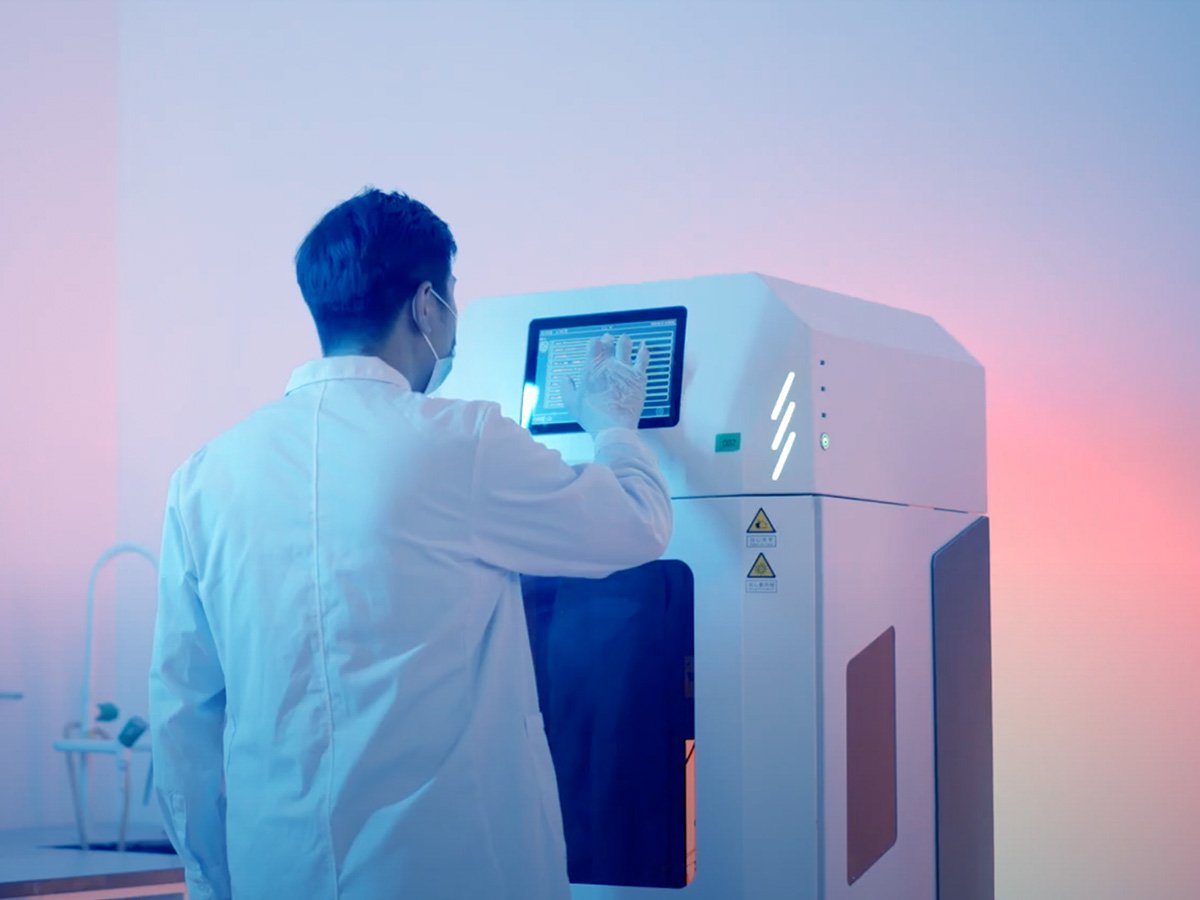
3. Operating the CAD/CAM System
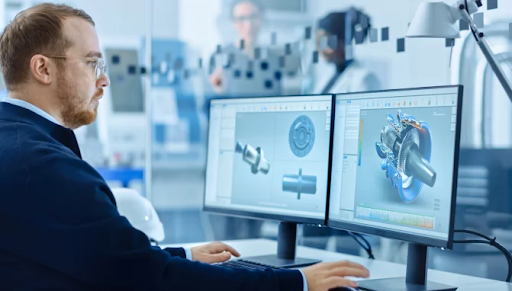
The next step is to configure the CAD/CAM software to start operation. You can input the specifications of the restoration into the software and select the appropriate milling path based on the types of bur and material being shaped. It includes rough cutting, fine finishing, and polishing steps. During this process, monitor the milling process in real-time to avoid any mistakes.
4. Post-Milling Procedures
Once the milling process is completed, you can carefully remove the dental CAM milling bur from the machine and clear it properly or thoroughly. Use soft things to remove any debris or material residues and sterilize the bur. Now, inspect the final restoration carefully. Remove the restoration from the milling chamber and examine it for any imperfections, like rough edges, poor fit, and other incorrect margins.
5. Final Adjustments and Polishing
This final step includes fine-tuning margins, checking the occlusion, and smoothing any rough surface of restoration. Then, polish the restoration to give it a smooth and aesthetic finish that will fit seamlessly with the patient’s natural teeth.
Common Applications of Dental CAM Milling Burs
Dental CAM milling bur has versatile applications in everyday dental practices.
Creating Aligners and Retainers
One of the great applications of the dental CAD/CAM Milling Bur is in the creation of clear aligners and retainers. These devices take precise measurements to ensure the restoration fits a patient’s teeth comfortably. CAM milling burs are used to carve detailed models or trays, which are then custom-formed into aligners or retainers.
Milling Crowns, Bridges, and Inlays
Another great application of dental CAM milling burs is to create milling crown inlays and bridges. These restorations are core elements of restorative dentistry that require strength and an excellent aesthetic finish. The milling bur accurately mil high-quality materials like porcelain, zirconia, and resin composites to create natural and durable restorations.
Wax and PMMA Models for Prototyping
The key application of dental CAD/CAM milling burs is the creation of wax and PMMA (polymethyl methacrylate) models. These models serve as the basis for casting final restorations. Dentists use wax models in the crown and bridge work to ensure precise detail and accuracy in restorations. While the PMMA models are often used in surgical planning and implants.
How to Choose the Best CAM Milling Burs?
Before choosing the best dental CAM milling burs, a few factors that are detailed below should be in mind to ensure better outcomes.
- Material Compatibility: One of the most important factors that should never be neglected is material compatibility. Make sure to select the bur that is designed to work with different materials like wax, zirconia, and resin composite.
- Precision and Accuracy: The accuracy and precision of a milling bur are important in producing reliable restoration that fits properly into the patient’s mouth. Choose the bur with sharp, fine-cutting edges that minimize adjustment and save you time.
- Durability and Longevity: Durability and longevity are two factors that should be considered before making a decision. Choose a bur that is made of high-quality material like carbide and stays for a long time.
- Cutting Speed and Efficiency: Before making a decision, speed and efficiency should be considered. Both of these factors ensure the dental restoration production quality and durability.
When it comes to choosing the best dental CAM milling burs, it is important to go for a well known brand since this guarantees quality and accuracy – this is where the Aidite CAM Milling Burs come in.
Aidite CAD/CAM Milling Bur provides superior performance and precision. Their burs are made of high-quality material that handles demanding dental appliances. The edges of the burs are sharp enough for the production of better-filling restorations.
Each bur of Aidite comes in a variety of shapes and sizes. Furthermore, the burs are integrated into your existing workflow. The burs are also compatible with most CAD/CAM systems, allowing you to work for a long time without frequent replacement. This is a cost-effective machine that provides high-precision restoration without compromising quality.
FAQs about Dental CAM Milling Bur
- How Long Does a Dental CAM Milling Bur Last?
The average lifespan of a dental CAM milling bur depends on multiple factors like frequency of use, the quality of the bur, and the material used in the machine. Typically, a milling bur can last from 100 to 500 uses with proper maintenance.
- Can All Burs Be Used with Any Dental Mill?
Unfortunately, no. All burs are not compatible with every dental mill because every mill machine may require specific types of burs. It’s important to choose burs that integrate with your machine specification to ensure quality results.
- What Is the Difference Between CAD/CAM and Traditional Milling Burs?
Technology is the main difference between CAD/CAM and traditional milling burs. CAD/CAM milling machines use advanced technology and software to provide precise results. On the other hand, the traditional milling burs lack technology.
Conclusion
To sum up, using dental CAM milling burs effectively requires attention to key steps, such as proper bur selection, preparation, and regular maintenance.
Investing in high-quality dental CAM milling burs is vital for achieving consistent, durable restorations and optimizing your practice’s efficiency. Quality tools like Aidite CAM Milling Burs offer precision, durability, and versatility, making them a smart choice for dental professionals who prioritize the best results for their patients.