

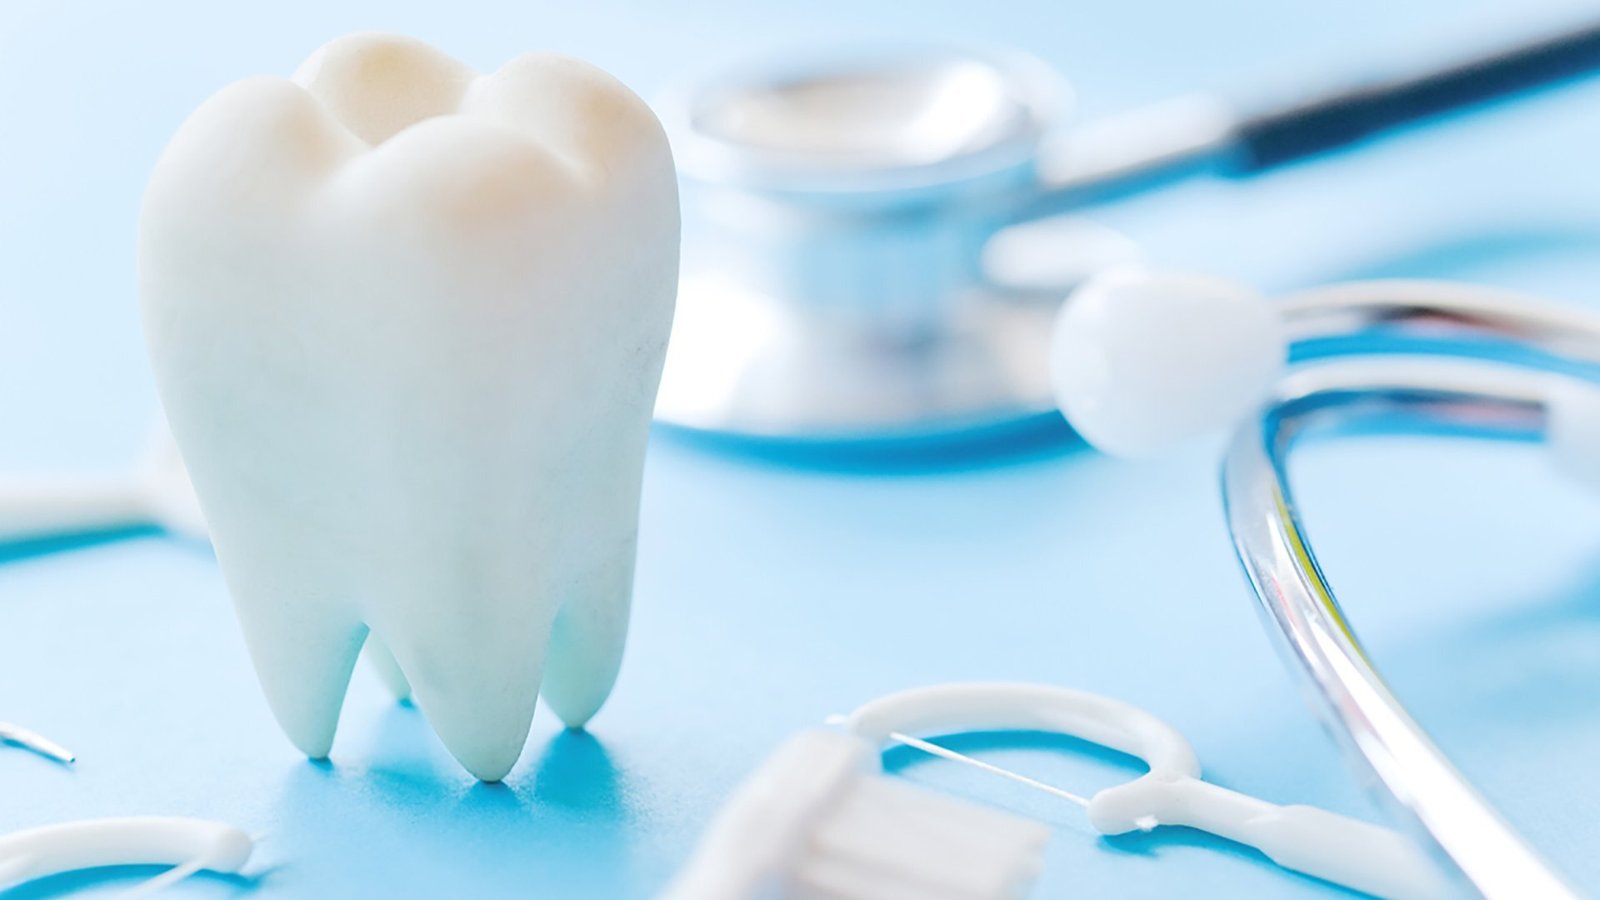

Dental technology has come a long way. 3D printing has completely transformed the way dental professionals work. If you’re a dentist or dental technician, you probably struggle with how long it takes to create crowns, bridges, or aligners for your patients.
The demand is growing, but your tools just aren’t keeping up. Learning how to use dental 3D printer technology could be the game-changer you’ve been looking for. In this article, we’ll walk you through what dental 3D printing is, how to use it step by step and answer your most common questions.
What Is Dental 3D Printing?
Dental 3D printing is the process of creating precise dental models, restorations, or dental appliances thanks to innovative 3D printing technology. Instead of mold-based methods, you can make crowns, dentures, aligners, and surgical guides with digital designs and specialized resins.
Dental 3D printing starts with a digital scan of the patient’s mouth. This is then turned into a printable design. A 3D printer uses layer-by-layer technology to build these models with extreme accuracy. Dental 3D printing not only saves time but also creates perfect fits and better results for patients.

How To Use Dental 3D Printer
Let’s break it down step by step so learn how to use dental 3D printer and get outstanding results every time.
Prepare the Digital Model
- Scan the Patient’s Mouth:
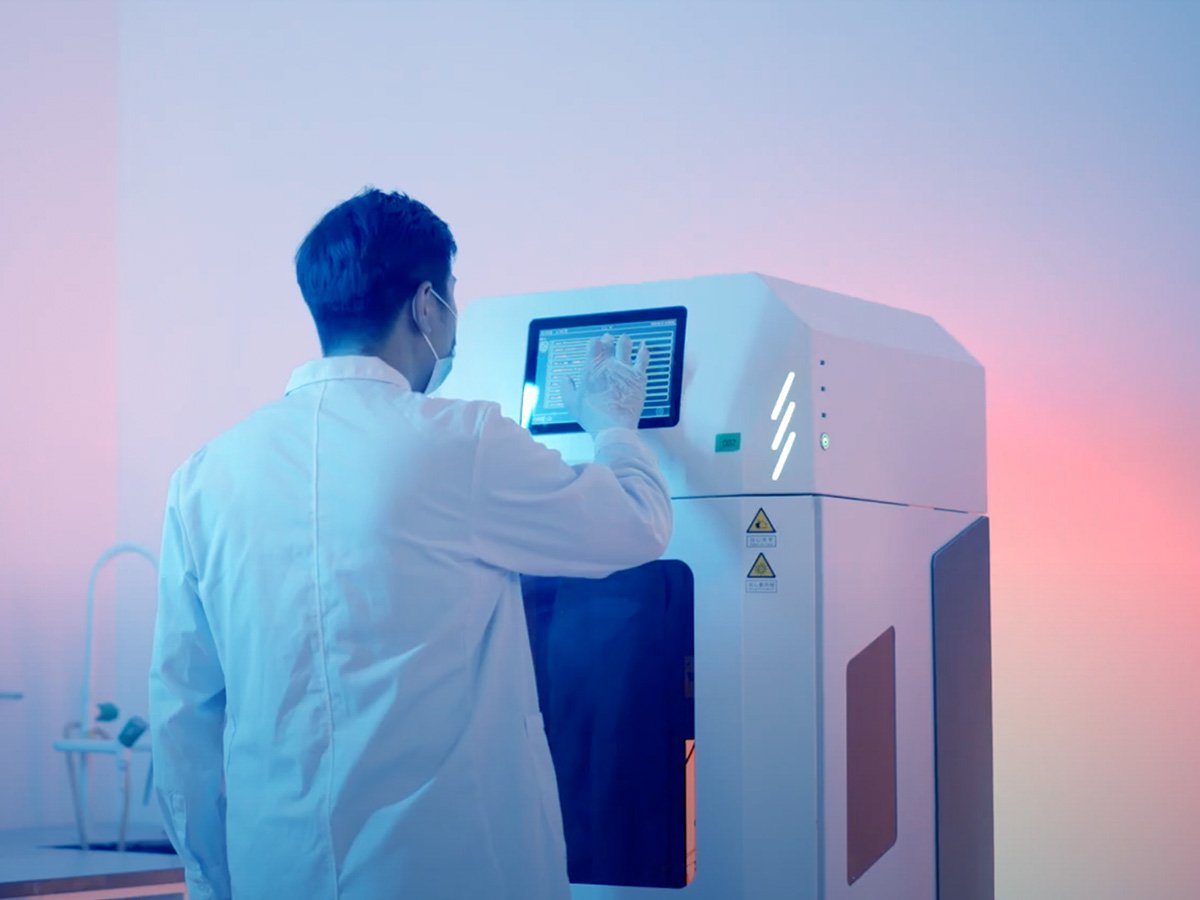
As the first step of learning how to use dental 3D printer, we’ll start with a basic scan. Use Aidite’s Cameo Intraoral Scanners to create a digital impression of the patient’s teeth or a desktop scanner for physical impressions. This method completely removes the discomfort of traditional molds. Instead, you get a more accurate and efficient process.
- Design the Model:
Import the scanned data into CAD software, like as 3Shape or Exocad, to design custom dental appliances like aligners, crowns, or surgical guides. Advanced tools within this software help ensure the design is precise, addressing the patient’s specific needs.
- Export the File:
Save your completed design in either an STL or OBJ file format. Both of these are accepted by most 3D printing systems. These formats also maintain the integrity of design along with compatibility.
- Optimize the Design:
Process the file in slicing software like PreForm or ChiTuBox, which prepares the design for 3D printing by converting it into printable layers. Adjust key settings, such as layer thickness (e.g., 50 microns for high precision) and supports, to ensure a smooth printing process.

Set Up Your Printer
- Choose the Right Resin:
Select a dental-grade resin specifically formulated for your application, such as surgical guides, crowns, or orthodontic aligners. Ensure the resin is biocompatible and meets medical safety standards like Class I or Class II certification, depending on its intended use.
- Calibrate the Printer:
Level the build plate carefully to prevent layer misalignment or printing errors. Follow the printer’s calibration procedure to guarantee precise resin layering, especially for high-accuracy applications.
- Load the Resin:
Pour the resin into the printer’s vat, keeping the fill level within the recommended range to avoid spillage or wastage. Shake the resin bottle well beforehand to mix the components evenly for consistent results.
- Upload the File:
Transfer the sliced file to your printer using a USB drive, memory card, or Wi-Fi, depending on the printer’s connectivity options. Double-check the file to ensure the slicing process was done correctly.
Start Printing
- Begin Printing:
Launch the print job by pressing “Start.” The 3D printer will use UV light to cure the resin layer by layer, creating the model with incredible detail and precision. Printing times vary based on the model’s size and complexity, from 20 minutes for simple designs to hours for more intricate ones.
- Monitor the Print:
Even though 3D printing is highly automated, periodically check for errors like layer shifts or material issues. Early detection of problems can save time and materials. And if you don’t, you’ll end up with a broken print that is completely unusable.
- Print Completion:
When the print is finished, the printer will notify you. Once you’re notified, put gloves on and remove the print. Gloves protect you from uncured resin as it can irritate the skin or contaminate surfaces.
Finalize the Print
- Remove the Model:
Now we’re on the final stages of learning how to use dental 3D printer. Start by carefully using a scraper to detach the model from the build plate. Be gentle to prevent cracks or other damage, especially with delicate structures like aligners or bridges.
- Rinse the Print:
Wash the printed model thoroughly in isopropyl alcohol (IPA) to remove residual uncured resin. Then, use an ultrasonic cleaner or a dedicated wash station for a deeper clean and more efficient process.
- Cure the Print:
Place the cleaned model in a UV curing chamber to fully harden the resin. Proper curing enhances the model’s durability and ensures biocompatibility for dental applications.
- Remove Supports:
Use precision tools like clippers or dental tools to carefully trim away support structures added during slicing. Take care to avoid damaging the model during this step.
- Polish the Print:
Polish the surface of the model for a smooth finish, especially for items like crowns or aligners that will be used in a patient’s mouth. This final step allows for the print to be comforting and aesthetic for the patient.
Check for Accuracy
- Fit Test:
Compare the printed model to the original digital scan or impression to ensure it matches perfectly. This step is crucial for achieving a proper fit for dental appliances.
- Measurements:
Use calipers or digital measuring tools to confirm the dimensions of the model are accurate. Even slight discrepancies can lead to poor-fitting dental restorations or devices.
- Adjust If Needed:
If the model isn’t accurate, return to the CAD file to make corrections and reprint. Repeating this process ensures the final product meets both the dentist’s and patient’s expectations. And that’s it! You’ve learned how to use dental 3D printer!
FAQs
What Is A 3D Printer Used For In Dentistry?
3D dental printers help dental technicians create models, crowns, aligners, dentures, and even surgical guides. Because they are digital, dental 3D printers create some of the most precise custom-made appliances at a faster rate than other methods.
What Are The Benefits Of Using 3D Printing?
One of the main questions before learning how to use dental 3D printer is why. Dentists and dental technicians choose to use 3D dental printers because of their benefits. Not only does 3d dental printing save time and money, but it also creates accurate and precise dental molds. 3D dental printing benefits both patients and dentists by quickly restoring dental models.
What Are The Disadvantages Of 3D Printing In Dentistry?
3D dental printing is quite costly and expensive. This is why not every clinic in the world can afford it. It is also expensive to train staff to use advanced 3d printing technology and avoid making errors. This makes 3d dental printing inaccessible to many dental offices across the world.
Final Thoughts
Learning how to use dental 3D printer technology can change the game for you. If you’re a dentist looking for faster and more accurate results for your patients, you’ll want to get yourself a 3D printer. This technology helps you print accurate dental molds in no time. What else could you ask for?
Ready to take it to the next level? Aidite’s CPD-100 DLP 3D Printer is designed for oral repair and implant. The cases that need high precision are perfect for this 3D dental printer. With an AI optimization technology, you can ensure perfect match of the print mold.