

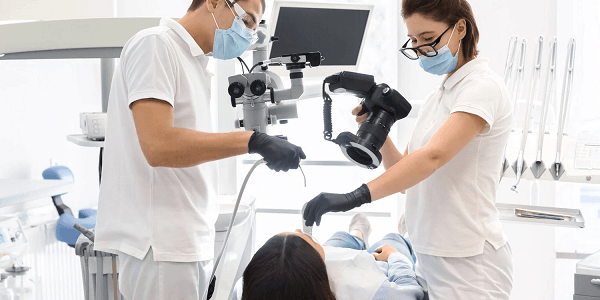
Intraoral and extraoral photographs: Which one is best for dental clinics? Dentists often face a struggle in choosing the right type and quality of dental photos. Both the clinics and labs need clear images. These photos help in diagnosis, treatment planning, and lab work. But picking between intraoral and extraoral photos is not always easy.
The intraoral and extraoral photographs are used for different purposes and conditions. The experienced dentist uses intraoral photographs to show the inside of the mouth. On the other hand, extraoral use is to show the jaw and smile.
In this article, you will explore the key comparisons and how to take intraoral and extraoral photographs.
Why Intraoral and Extraoral Photographs Matter in Modern Dentistry?
In the dental industry, the intraoral and extraoral photographs help dentists see the details of the patient’s mouth. These photos are clear, close-up views of the mouth and face. They help show tooth shape, gum health, bite problems, and jaw balance.
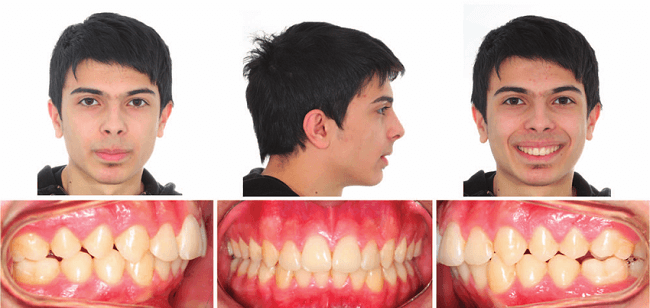
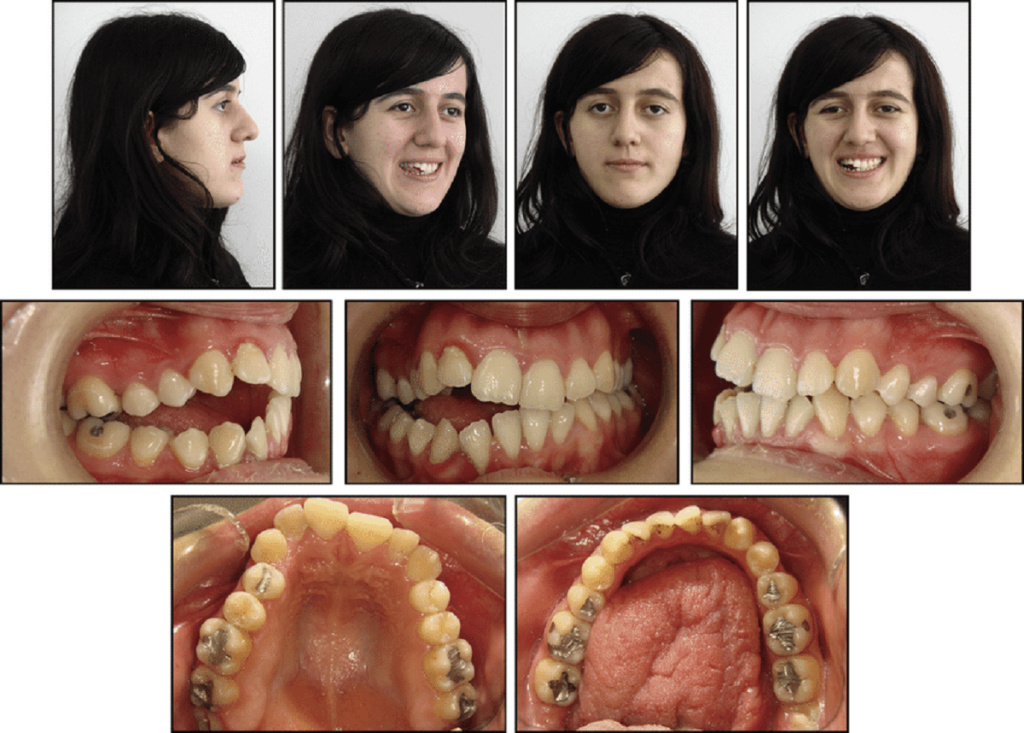
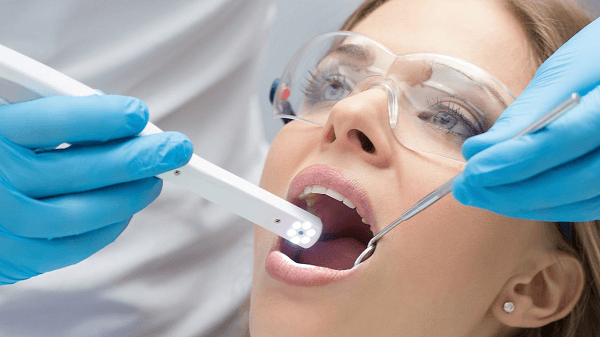
Intraoral photographs for dental diagnosis are taken inside the mouth. They show the teeth, tongue, gums, and roof. Extraoral photography is taken outside the mouth. They show the smile, profile, and face. These help in planning braces, jaw work, and cosmetic changes.
In short, these photos make dental care clear, safe, and smart.
What Equipment Do You Need for Dental Photography?
Before starting to take intraoral and extraoral photographs, it’s important to gather the right material. Both photographs need different tools and setups. So, these tools enable you to capture a clear image for records and treatment plans.
Intraoral Photography Essentials
Taking pictures inside the mouth is tricky without the proper tools. The space is small, the lighting is hard, and it’s easy to miss details. These tools help dentists capture what they need clearly and safely:
If you take intraoral photography, you should have the following tools and equipment.
- Intraoral camera or DSLR with a macro lens
- Cheek retractors
- Intraoral mirrors
- Contrastors
- Ring flash or LED lighting
Extraoral Photography Essentials
For extraoral photography, you need tools that are advanced and different from intraoral photography.
- DSLR camera with macro or portrait lens
- Twin flash system
- Tripod (optional but helpful)
- Neutral or plain background
These tools help dental teams capture photos that are balanced and useful for all kinds of care.
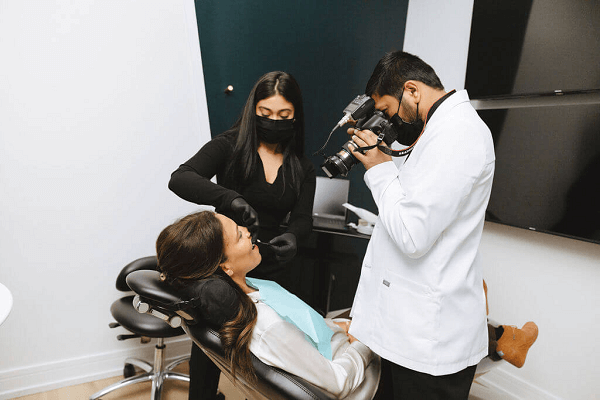
How to Take Intraoral Photographs Like a Pro?
The dentist follows a few steps to take intraoral photography that provides a high-quality image. Here is the explanation of these steps you should consider taking intraoral photography.
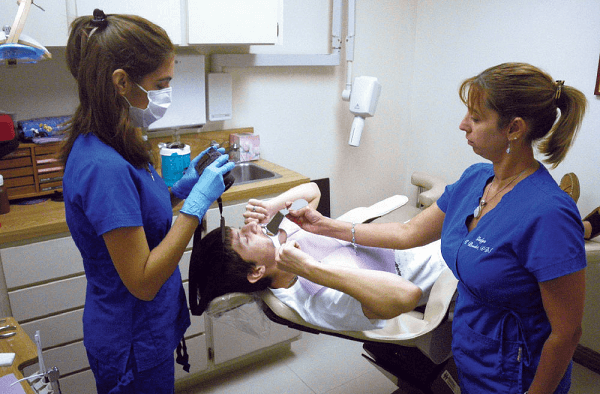
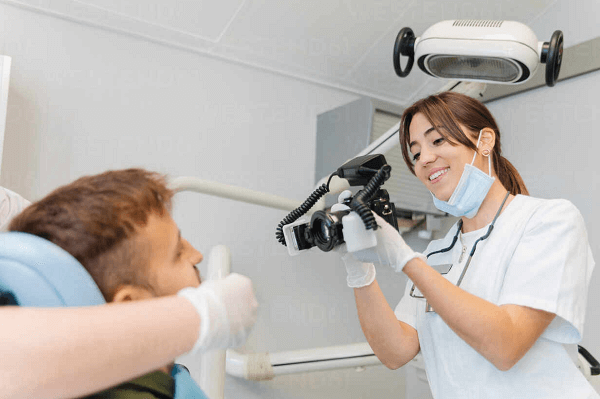
Step 1 – Prepare Your Equipment and Patient
Before you start, make sure your equipment is ready to use. This saves time and keeps things smooth. Make sure your camera is charged and your lens is clean. Use cheek retractors, mirrors, and a contrast if needed. Turn on the flash or LED light for clear, bright images.
Now, help your patient get ready. Ask them to sit up straight and relax their lips. Wear gloves, use clean tools, and check lighting.
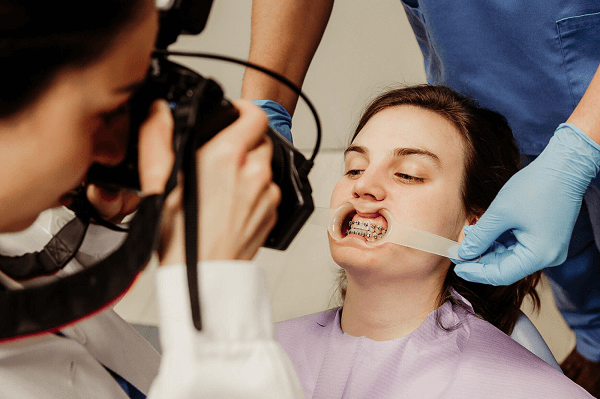
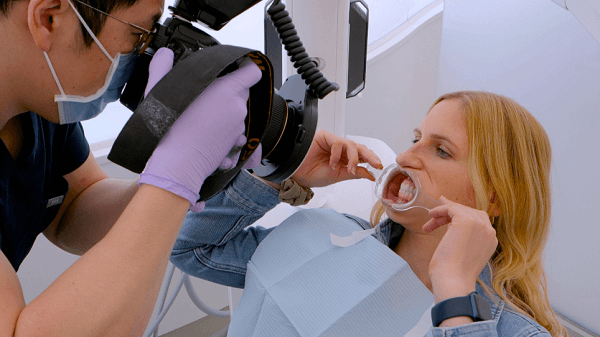
Step 2 – Start with the Frontal View
The next step is to take a photo of the front, top, and bottom teeth. Ask your patient to bite down gently. Use cheek retractors and hold the camera straight in front of the mouth. Make sure the photo is centered, and all front teeth should be in focus. This view helps check midlines, shape, spacing, and color. It’s also great for before-and-after records.
Step 3 – Capture Right and Left Buccal Views
Next, take side shots of the back teeth on both sides. These are called buccal views. Ask the patient to bite down again. Use a mirror and hold the camera so it points straight at the mirror, not the teeth. Keep the image clear and avoid glare. These views show how the upper and lower teeth fit together. They help track bite changes and wear.
Step 4 – Take Maxillary and Mandibular Occlusal Views
Now take photos looking down on the top teeth and up at the bottom ones. For the maxillary occlusal, ask the patient to tilt their head back. For the mandibular occlusal, have the patient tilt their head forward. Make sure the arches are centered, clean, and in focus. These views help dentists see arch form, crowding, and tooth positions.
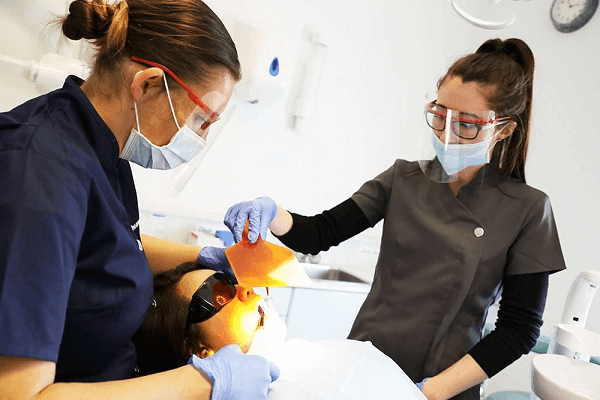
Step 5 – Take Close-Up Shots of Specific Areas
Finally, zoom in on any problem spots. Look for cavities, broken fillings, gum issues, or lesions. You can use a mirror if the area is hard to reach. Keep your hands steady and use the macro setting on your camera. These small shots are great for patient records and lab work. They help lab techs create accurate restorations and help patients see what needs fixing.
How to Take Accurate Extraoral Dental Photographs?
The extraoral photography shows the patient’s whole face, jawline, and profile. So, you need to follow proper instructions to take extraoral photographs.
Step 1 – Set Up the Right Environment
It’s important for you to clean the space, and good lighting matters a lot. Use a plain background and turn off extra lights that may cause shadows. Use a soft light source and make sure the camera settings are correct. You can also use a DSLR with a macro or portrait lens. Keep the same zoom and distance for all photos. This keeps them consistent and easy to compare later.
Step 2 – Position the Patient Correctly
In the next step, ask the patient to stand or sit with their back straight. Their head should face forward, with their eyes looking straight ahead. Don’t tilt the chin too high or too low. Use a posture guide if needed. Keep the same head level and body angle for every patient. You can mark a spot on the floor to help the patient know where to stand each time.
Step 3 – Capture the Frontal and Smile Views
In the next step, take two types of front photos. First, ask the patient to rest their lips. Then ask them to smile naturally. Then make sure to take the photo is centered. The nose, chin, and lips should all line up. Avoid cutting off the top of the head or jaw in the photo. Both shots are key for planning cosmetic and orthodontic work.
Step 4 – Take Right and Left Profile Views
Turn the patient’s head to the side. Take one photo from the right and one from the left. Ask the patient to keep a relaxed face. These photos show how the jaw, chin, nose, and lips align. Check that the camera is straight and at the same level as the face. The ear should be visible and in focus. Profile shots help track jaw growth and treatment progress.
Step 5 – Use Three-Quarter and Dynamic Views
Three-quarter views show more of the face than a side photo. Ask the patient to turn their head halfway between front and side. This photo gives a fuller picture of the cheeks, lips, and smile curve. Dynamic shots are used for recording facial movement. Ask the patient to smile widely, say “ee,” or puff their cheeks. These show how lips and muscles move. They are great for aesthetic and speech evaluations.
How do Intraoral and Extraoral Photos Support Dental Specialties?
The intraoral and extraoral photographs are also used in dental restoration to achieve quality results. Lab techs can also use these photos to create better results. Let’s look at how to take intraoral and extraoral photographs in each special area of dentistry.
– Orthodontics: Monitoring Alignment and Growth
The photographs enable the orthodontists to track how teeth move. A frontal or side view can show changes in the bite, smile, and jaw. Occlusal views help see if teeth are spaced. These pictures are taken during treatment and help keep the plan on track.
– Prosthodontics: Smile Design and Esthetics
In prosthodontics, a smile matters a lot to patients. Dentists use photos to design crowns, bridges, and veneers that look natural. Extraoral types of photographs show the full face and smile. Intraoral ones show tooth shape, gum lines, and spacing. These details help labs match color and shape.
– Periodontics: Gum Health and Recession Tracking
Gum care after dental restoration needs close tracking. Photos help show if gums are pulling back, bleeding, or swelling. Intraoral shots can show deep areas or spots hard to see in person. This is helpful for cleaning plans and satisfies the patient about gum health.
FAQs
What is the dental code for an extraoral image?
The dental code for an extraoral image is D0251. This code is used when a dentist takes a photo of the outside of the mouth. It is not the same as an X-ray. Dentists use code D0251 to bill or record this type of extraoral image.
How to take intraoral photos?
To take intraoral photos, use a clean mirror and a camera with good light. Ask the patient to open wide. Take pictures and make sure the image is sharp and centered. Take close-up shots if needed.
What is the difference between intraoral and extraoral exams?
Intraoral exams check inside the mouth. On the other hand, during extraoral exams, dentists check outside the mouth. Both exams help find signs of problems like swelling, pain, or lumps. Each exam gives different but important clues.
Final Thoughts
To sum up, intraoral and extraoral photographs are a big part of dental care. They help dentists see small problems, plan treatments, and show clear before-and-after results. Patients also understand better when they can see what’s happening in their own mouth.
To fully avail these benefits, it’s important to choose the brand that provides quality dental tools and equipment. Aidite provides high-quality dental tools without breaking the bank. Their team mainly focuses on innovation and precision. All their equipment meets the international health standards.