


Headaches, blurry vision, and eye strain are the common problems dentists face during mouth inspection. These issues arise due to the inappropriate use of loupes. Sometimes, a beginner dentist doesn’t know the technicalities of modern dental loupes. They use the loops without any setup.
When loupes are not used correctly, they can lead to pain in the neck, shoulders, and back, too.
Dentists may feel tired fast, and their work may not be as sharp. Some might even stop using loupes, thinking they are the problem.
But the real problem is using them the wrong way. So, this article provides you with a detailed step-by-step guide on how to use ergo loupes for surgery.
Why Use Ergo Loupes for Dentistry and Surgery?
Dentists need precision and accuracy in their treatment procedures and end results. Ergo, loupes are designed to support precision. They enable you to see the fine detail of the patient’s mouth. This device provides a declination angle that prevents your eyes from straining.
So, you can clearly inspect the patient’s mouth and plan better treatment.
Clear vision at the right distance means fewer mistakes and faster work. You no longer have to lean in close to see fine details. This keeps your working distance safer and more comfortable. Furthermore, you can maintain a natural, upright posture. This reduces stress on the neck, back, and shoulders.

How to Set Up Ergo Loupes Before Use?
It’s important for you to set up the loupes correctly. A good setup helps your body stay relaxed while you work. It also helps you see clearly without leaning or straining. Here is the step-by-step guide that enables you how to set up ergo loupes.
Step 1 – Fit the Frame Correctly
First, make sure the frame fits your face properly. You can use the nose pads and side arms to adjust the frame. The frame should sit gently on your nose and wrap around your ears without slipping. You should be able to move your head without the loupes shifting.
Step 2 – Set the Working Distance
The next step is to set the working distance when using ergo loupes for dental hygiene between your eye and the patient’s mouth. To find the right distance, sit as you normally would while working. Your back should be straight, and your arms should rest naturally. A proper working distance helps keep your posture strong all day.

Step 3 – Adjust the Declination Angle
Once you set the distance, then adjust the decline angle. To set it, put on the loupes, sit in your work position, and look straight ahead. Then, adjust the angle so you can see the patient’s mouth clearly. This part may take time to get right, but it’s worth it.

Step 4 – Optimize the Magnification and Focus
After you adjust the angle, fix the magnification to see fine details of the patient’s mouth. Most dentists prefer to operate in 2.5x or 3.0x magnification. Choose what feels clear and comfortable for your work. After picking the right magnification, focus the lenses. Make sure both eyes are focused on the same thing.
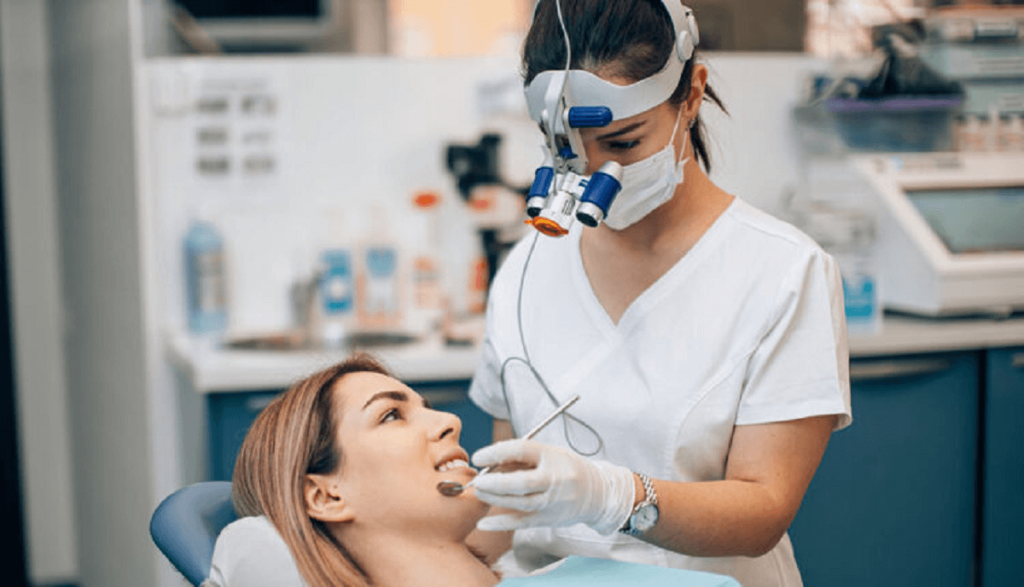
How to Use Dental Ergo Loupes During Procedures?
Once you set up the dental ergo loupes, it’s time to learn the process of using this tool appropriately. Many dentists make the mistake of only focusing on the patient. But using loupes the correct way during work helps both you and the patient. Here is a step-by-step guide to using ergo loupes that enables you to enhance your working efficiency.
Step 1 – Position Yourself Ergonomically
The first step is to learn how to set up ergo loupes in a way that feels natural and balanced. Your feet should be flat on the floor, and your back should stay straight. Keep your shoulders relaxed and your elbows close to your sides. This helps your whole body stay supported. Sit as close to upright as you can without leaning forward.

Step 2 – Adjust Your Patient and Operatory Setup
Before you start the procedure, make sure the patient is in the right position. The chair should be at the right height so you don’t need to lean in. Also, make sure your tray, tools, and suction lines are all easy to reach. You should not have to twist or reach far to grab what you need.

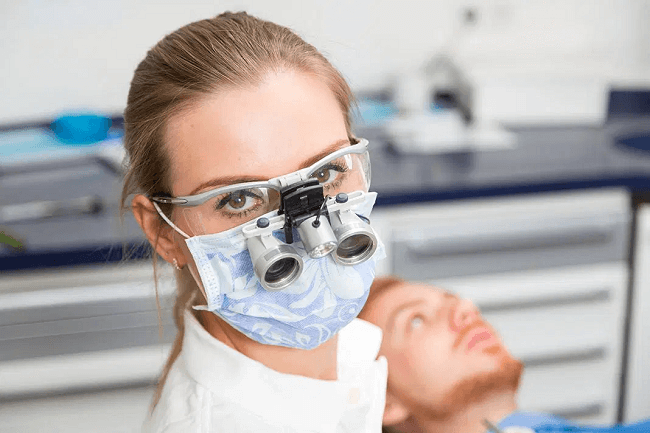
Step 3 – Align Loupes to Your Visual Field
When your patient and space are ready, it’s time to put on your loupes and check your view. Your eyes should naturally focus on the treatment area. Slightly move your head until the clearest, centered view appears. This is your visual field.
Step 4 – Maintain a Consistent Viewing Angle
As you start working, try to keep the same angle of view throughout the procedure. This means your head stays in one spot, and your eyes stay focused straight. Avoid turning or tilting your head too much. This might feel strange at first, but it protects your neck and keeps your vision sharp.

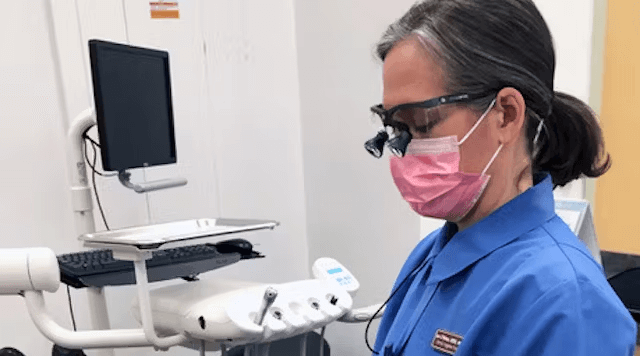
Step 5 – Perform the Procedure with Precision
When all things are in the right place, then you can perform your procedure using the sharp, clear view your loupes give you. With the right setup, you should see more detail without squinting or bending in.
Use small, controlled hand movements. Let your eyes guide your hands. Because the view is magnified, you’ll notice things you might miss with the naked eye. That helps with accuracy and better outcomes.
Step 6 – Take Micro-Breaks for Comfort
Don’t rush to complete the inspection or treatment. You can take a stop for just 10-20 seconds every 20-30 minutes. Sit back, relax your shoulders, and move your neck gently side to side. Blink your eyes a few times or look across the room to relax your vision.
These small breaks help stop pain before it starts. They give your muscles a quick rest and help your focus stay fresh. Micro-breaks protect you in the long run.
Post-Use Tips and Daily Loupe Care
It’s important to take care of the loupes after using ergo loupes for dental hygiene. When you clean and store them the right way, they last longer and stay clear. Dirty or scratched lenses can harm your vision and make you work harder. And if the frame bends or the parts get loose, your posture can suffer too.
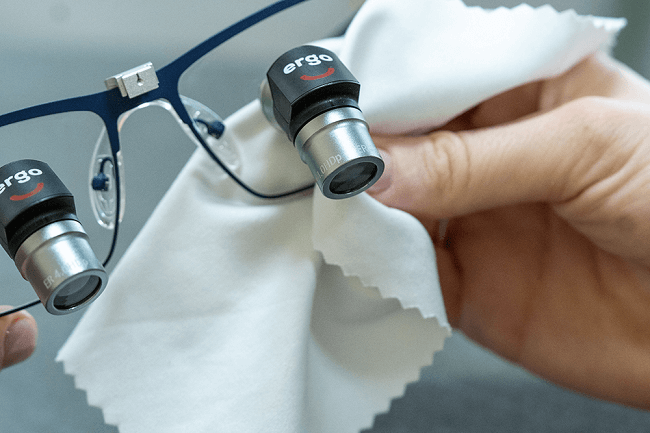
After each procedure, gently wipe the lenses with a soft cloth made for optics. Make sure to clean the nose pads and arms too. Always store your loupes in their case when not in use. This protects them from dust, drops, and damage.
To support these daily care routines, Aidite ergo loupes are thoughtfully designed with both comfort and durability in mind. These high-quality optics are easy to maintain. On the other hand, their ergonomic frame helps preserve proper posture during long procedures.
FAQs
What are the benefits of ergo loupes?
Ergo loupes help you see better and sit better while you work. They let you keep your back straight and your neck relaxed. This means less pain in your body after a long day. You don’t need to lean in close, so it feels safer and easier.
What is the difference between Ergo and traditional loupes?
The basic difference between the two loupes is the decline angle. Ergo loupes use a special angle so you can see the mouth clearly. Traditional loupes don’t support your posture as well. That’s the big difference between them.
What is the purpose of a surgical loupe?
The purpose of a surgical loupe is to help you see small details clearly during surgery. It makes the area look bigger. So you can work with more care and accuracy. They are used to make your work easier, safer, and more exact.
Final Thoughts
To sum up, learning how to use dental ergo loupes the right way can make a big difference in your daily work. These loupes help you see small details clearly. They also keep your posture straight and your eyes relaxed. When used correctly, they improve your focus, speed, and comfort.
However, to avail yourself of all these perks of a loupe, it’s important to buy it from a reliable brand. Aidite is a trusted provider that provides a cost-effective dental solution. Aidite high-quality dental ergo loupes are made with modern design and comfort in mind. Their products are built to support clear vision and healthy posture.