


Ill-fitting, displeasing restorations and patient discomfort are often the result of choosing the wrong tooth shade. When the dental shade guide is not used properly, many things can go wrong. The final restorations may look too white, too dark, or simply not match the natural teeth. This can leave patients feeling unhappy and embarrassed.
For dentists, this creates stress, time loss, and possible damage to their reputation. It’s compulsory for you to gain proper information about the correct usage of the tool. This article gives a step-by-step guide on how to use dental shade guides the right way.
When Should You Use a Dental Shade Guide?
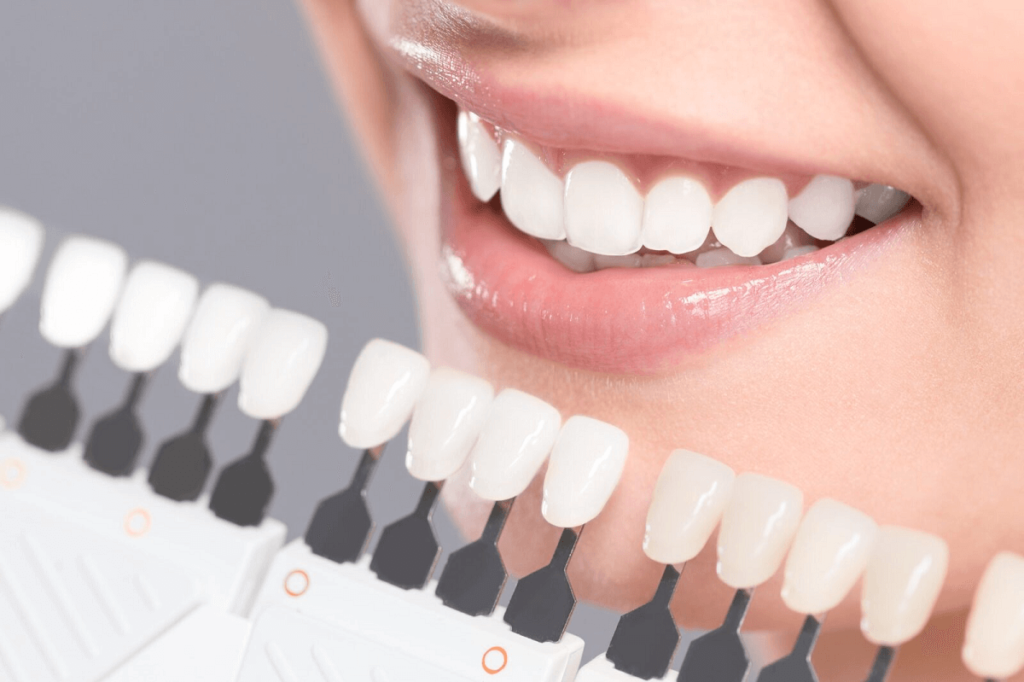
It is very important to understand how dental shade matching works. It helps match the new tooth color to the real teeth. Here are the best times to use it.
– Before Any Tooth Preparation
It’s best to use the tooth shade before doing any drilling or cutting. Once the tooth is dry or changed, the color can look different. A clean, moist tooth gives the best match. Using the shade early helps save time later. It also gives better results.
– For Cosmetic Restorations
Cosmetic work, like veneers or crowns, needs a perfect color match. These teeth are right in front and easy to see. If the color is off, the smile won’t look right. Using the shade guide before you start helps plan the case better.
– For Teeth Whitening
Before whitening, the shade guide shows the starting tooth color. After whitening, you can use the guide again to show how much the teeth have changed. It helps both the dentist and the patient see the results.
– For Composite Bonding
When fixing teeth with composite, color is key. Using the shade guide before starting helps pick the right color. Even small color changes can be seen, so this step is very important. It makes the bonding look smooth and natural.
How To Use Dental Shade Guide—Step by Step
Using a dental shade guide the right way helps match the fake tooth to the real ones. It keeps the smile looking nice and natural. Follow these simple steps to get the best match every time.
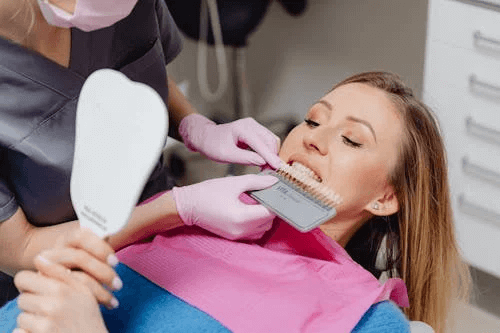
Step 1: Prepare the Patient and Environment
Start with the right light. Use natural daylight or a light made for shade matching. Ask the patient to sit up straight. Their head should be level with yours. Place a gray or neutral background behind them, like a dental bib.
Bright clothes or walls can trick your eyes. Also, make sure the tooth is clean and moist. If it’s dry, it will look whiter than it really is. This step helps you see the true tooth color.
Step 2: Select the Initial Shade Quickly
Look at the tooth and pick a close shade within five seconds. Don’t stare too long. Your eyes get tired and may start to see colors incorrectly. Pick the shade that looks closest at first glance.
This is often the best match. Work fast, but don’t rush. Use the middle part of the tooth for matching. The top and bottom parts can look darker or lighter.
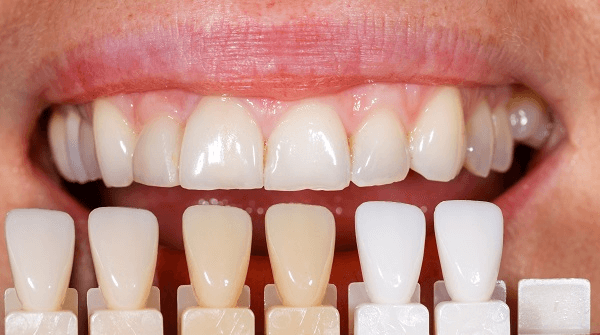
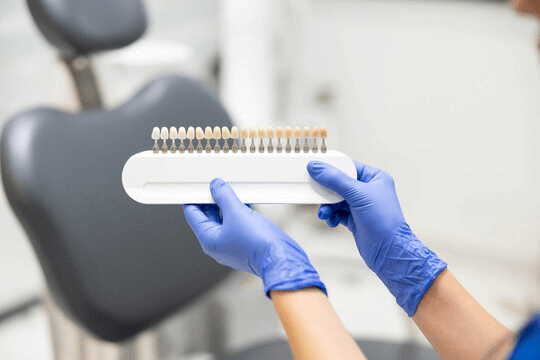
Step 3: Compare Multiple Tabs
Now, check a few more tabs close to your first pick. Hold them next to the tooth. See which one blends in best. Look at how the light hits the tooth and tab.
The best match will almost “disappear” into the tooth. Turn the tab slightly to see it in the light. This helps check if the color stays the same. This step makes sure you don’t miss a better match.
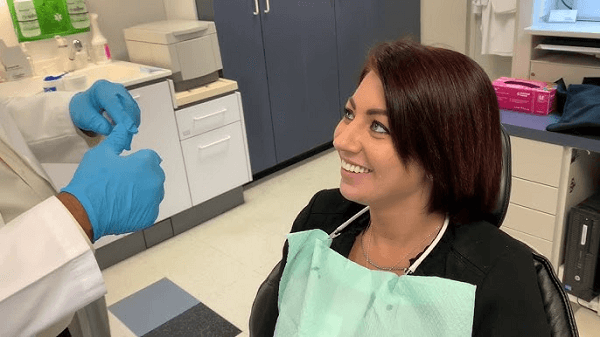
Step 4: Confirm the Shade Selection
Once you think you have the right shade, show it to another team member. A second set of eyes can help. You can also take a photo with the tablet next to the tooth. Check the match from different angles. Make sure the tooth and tab still look the same. This step avoids errors and keeps your pick safe.
Step 5: Document the Shade Correctly
Write down the exact shade name or number. Use the right name from the guide, like A1, B2, or 2M1. Don’t just say “light” or “white.” If you took a photo, send it to the lab with the case.
You can also draw a map if the tooth has more than one shade. Clear notes help the lab make the right tooth. This step saves time and avoids rework.
Common Mistakes to Avoid When Using a Dental Shade Guide
Many shade-matching problems happen because of small, easy-to-miss mistakes. These mistakes can lead to a fake tooth that doesn’t match the real ones. This makes the smile look odd and can leave the patient feeling upset. Here are a few mistakes you should avoid.
- Don’t use yellow or room lights.
- Don’t look at a dry tooth, and always keep the tooth moist.
- Don’t stare too long at the shade tabs.
- Don’t guess the shade; always compare with the guide tabs directly.
- Don’t forget to take a photo. It helps the lab match the shade better.
- It’s better to avoid rushing and take a few extra seconds to check carefully.
Taking your time and avoiding these small mistakes can save hours later. A good shade match means a happy patient and a natural smile.
Manufacturer Matters: Choosing the Right Shade Guide Brand
The selection of the right shade guide brand depends on multiple factors. The brand reputation, affordability, and ease-of-use features are common. Choosing a trusted brand ensures accurate shade matching and reliable results. It’s also important to think about the product features, such as how well it fits into your practice.
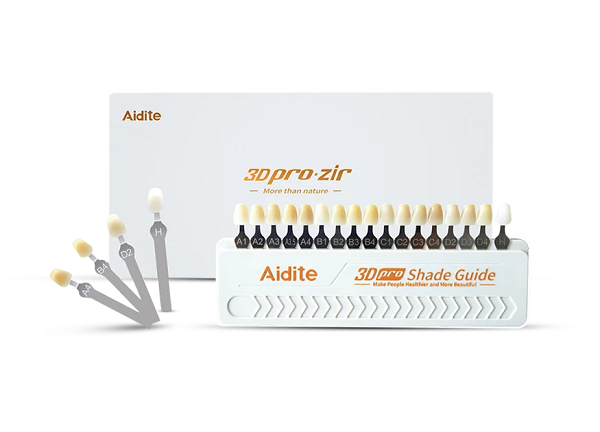
One popular brand is Aidite. They offer high-quality dental products that help in getting the perfect tooth color match. Aidite’s 3D Pro Zir Shade Matcher is a top choice for many dentists. This product helps match tooth colors accurately with its advanced system. It provides a wide range of shades, making it easier to find the best match. The guide is easy to use and designed to work with both natural and zirconia restorations.
FAQs
What is the function of a shade guide?
A shade guide helps match the color of a fake tooth to real teeth. It shows different tooth shades. So dentists can pick the right one. The guide helps get the best match for crowns, veneers, and other restorations.
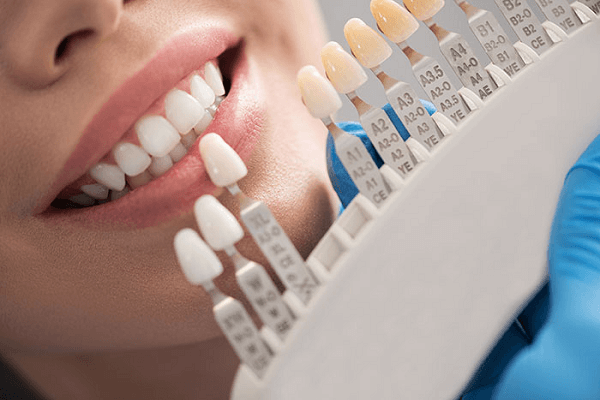
What are the numbers for tooth shades?
Tooth shades are often numbered to help match the color correctly. The most common system uses numbers like A1, A2, A3, B1, B2, etc. These numbers help dentists pick the right color for crowns, veneers, and other dental work.
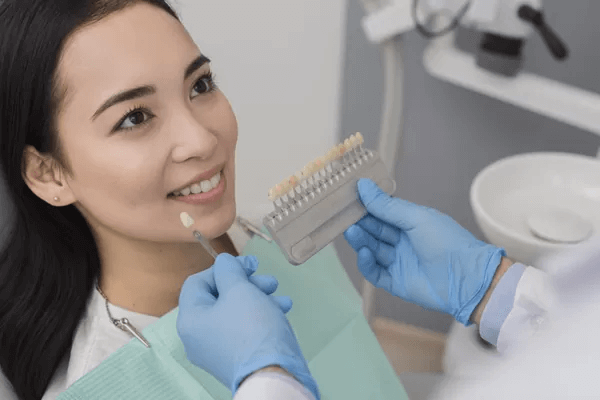
How to do shade selection in dentistry?
To select the right shade in dentistry, first clean the tooth and use good lighting. Then, pick a shade tab that matches the tooth’s color. Compare the tab to the tooth, looking for the best match. Check from different angles and confirm with a second person if needed.
Conclusion
To sum up, the knowledge of how to use dental shade guides correctly is important for ensuring the best tooth color match. It helps make sure the new tooth blends well with natural teeth. When using a shade guide, it’s important to work in good lighting. Take your time and don’t rush the process. Always double-check your choice and document it clearly for the lab.
Choosing a reliable brand is also key to accurate results. Aidite is one such trusted name. Their shade guide helps you find the right match, particularly for zirconia restorations. With the right tools and careful attention to detail, you can ensure that your patient’s new tooth fits perfectly with their smile.