
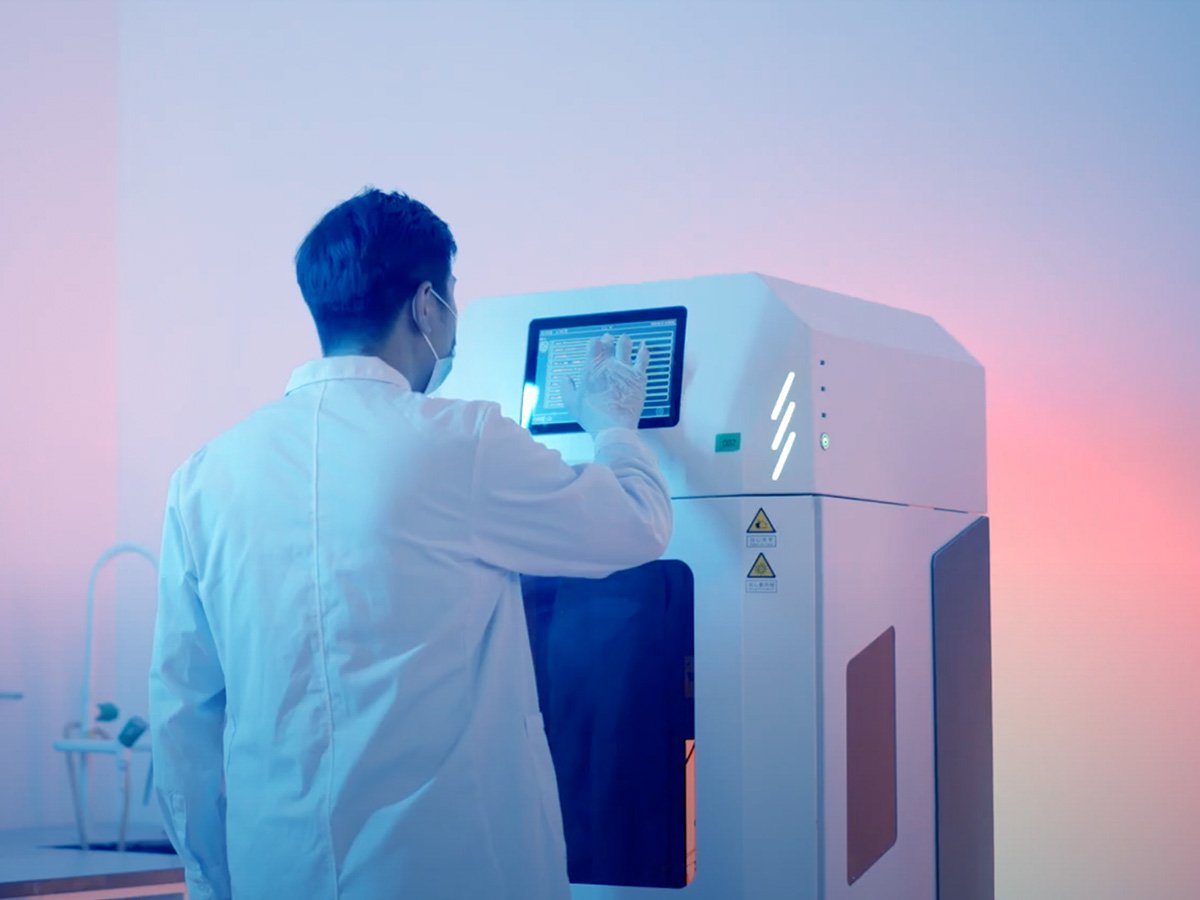


Dental milling machine usage in dentistry has revolutionized the treatment process with enhanced customization, fast turnaround time, and precision. If you are a newbie in the dental field, it is fundamental for you to understand how to use a dental milling machine.
The article below is a complete guide on how to use a dental milling machine and dental milling machine safety tips you have to follow while using a dental milling machine. After reading the full article, you will learn how to use a dental milling machine like Aidite AMM-580 Dental Milling Machine.
Let’s continue this exploration and learn about how to use a dental milling machine. Also, the dental milling machine safety tips for dental milling machine usage.
What is a Dental Milling Machine:
Different dental milling machines are used for creating implants, bridges, crowns, and restorations. Modern milling machines are equipped with automated features and allow seamless integration with CAD or CAM technology for the creation of complex restoration designs. You can process different types of material with a milling machine including PMMA, Wax, and Zirconia which are highly used in the dental field. Being an expert in dental milling machine usage enables you to create top-notch dental implants for your patients and bring natural results.
How to Use a Dental Milling Machine:
Being an expert in how to use a dental milling machine enables you to create complex and hard designs with ease by using a dental milling machine. But, if you do not know how to use a dental milling machine, follow this workflow described below.
Before Using a Dental Milling Machine:
Before a dental milling machine usage, you have to ensure and perform the following steps as described.
Digital Impression:
Taking digital impressions of the patient’s internal tooth structure is vital to start your production process. This helps you understand the design and shape of restoration. You can utilize modern intraoral scanners for this.
Setting the Machine:
After taking digital impressions of the design, the next step is to prepare the machine. In this step, you have to clear the machine of any debris and check the serviceability according to the manufacturer’s guide before a dental milling machine usage.
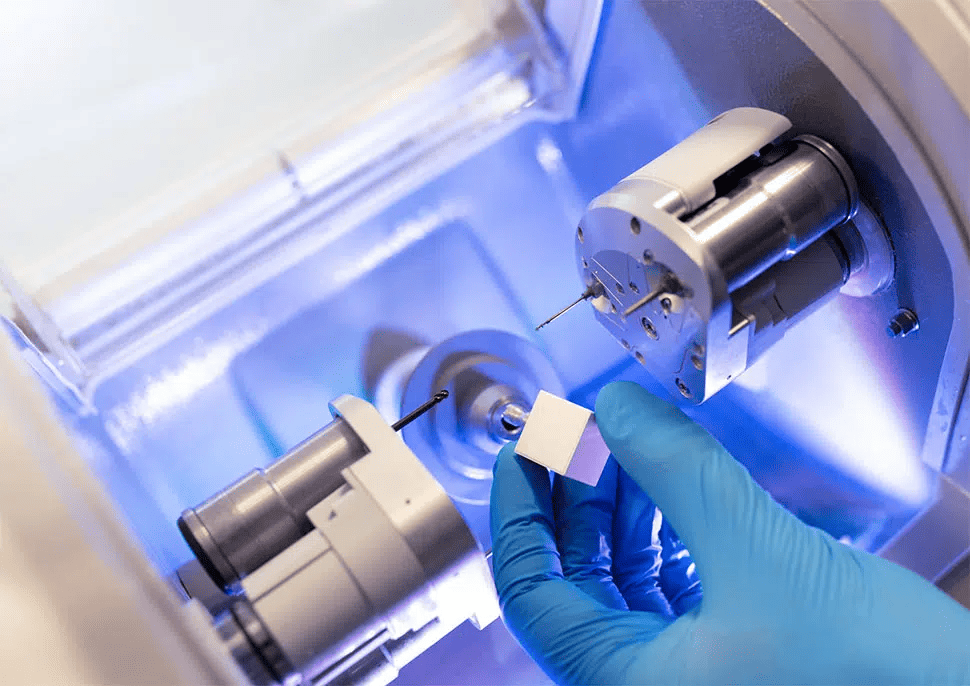
Selection of the Material:
Here you have to carefully select the most suitable material according to your restoration design and needs. Also, keep the compatibility of your milling machine with the material while going for materials like Zirconia Material or PMMA.
Preparing CAD and CAM Design:
Preparation of the implant design according to digital impression is done with the CAD (computer-aided design) software. Once it is done, the design is to be forwarded to CAM (computer-aided manufacturing) which generates the design on the workpiece by controlling the milling machine.
While Using a Dental Milling Machine:
The steps to follow while using a dental milling machine are listed below for your understanding.
Selection of Milling Parameters:
Selection of appropriate milling parameters is fundamental before a dental milling machine usage. It includes the setting of cutting speed, depth, selection of tool, and feed rate according to the complexity of design and material requirements.
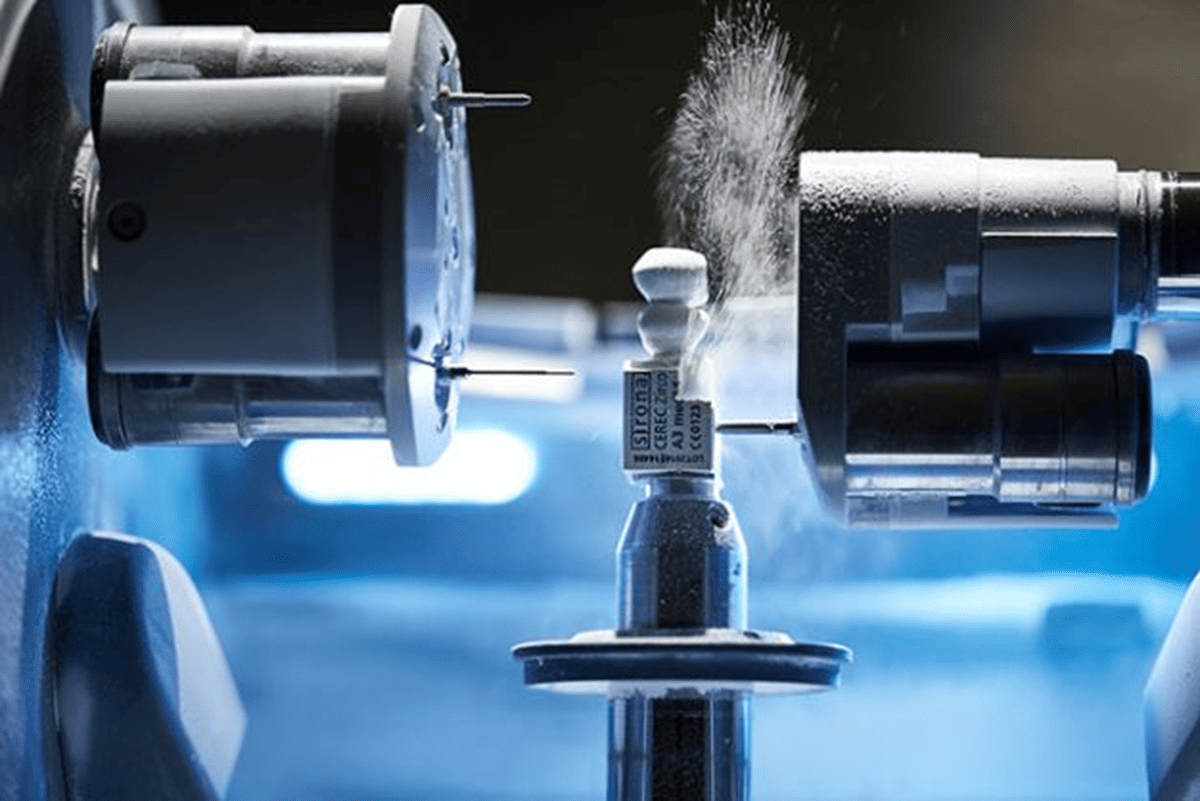
Milling Process:
The machine will cut the material in the design by using a rotary cutting tool in the milling process. Closely observe the machine during milling for its proper functionality and any malfunction. This will enable you to stop the machine in case of any malfunction or incorrect cutting while using a dental milling machine.
After Using a Milling Machine:
These steps are vital to ensure the quality and durability of your final restoration, in the workflow of how to use a dental milling machine.
Finishing of Workpiece:
Carefully remove your workpiece from the machine for a final finish after the milling process is completed. You have to smooth any rough edges or burs to redefine the original shape and structure of the implant.
Adjustment and Polishing:
Polishing comes next to improve the surface structure after the finishing process. This ensures the proper aesthetics and fitting of the restoration according to the natural teeth of the patient. You can trim or smooth the areas that do not align and show natural texture.
Final Inspection:
The final inspection is necessary to ensure the quality and proper matching of implants after a dental milling machine usage. Closely observe the surface of restoration for any damage, or cracks, to offer top-notch quality results.
Dental Milling Machine Safety Tips:
Safety is paramount while using a dental milling machine to promote a safe and secure work environment. Follow these dental milling machine safety tips to protect yourself and your equipment from any mishaps.
- Wear Protective Gear: Always wear gloves and safety glasses while operating the machine to protect from flying debris and sharp tools.
- Check Machine Serviceability: Before using the machine, ensure it’s functioning properly and that there are no malfunctions.
- Ensure Proper Tool Fit: Double-check that the cutting tool is correctly installed and tightly secured to avoid accidents.
- Never Leave the Machine Unattended: Always monitor the machine during operation to address any issues that may arise.
- Properly Position the Workpiece: Ensure the workpiece is securely placed in the machine and aligned correctly to avoid errors in the milling process.
FAQs:
How does a dental milling machine prepare dental restoration?
A dental milling machine works under a computerized program and shapes the workpiece in design according to the input.
How to use a dental milling machine for crowns and implants?
Using a dental milling machine for crowns is divided into the following steps. Starting from digital impression to machine setting, milling, finishing, polishing, and final inspection.
What are the basic types of dental milling machines?
The basic types of dental milling machines are 4-axis milling machines, dry milling machines, 5-axis milling machines, and wet dental milling machines.
Describe the main components of a dental milling machine.
Understanding the main components of a dental milling machine is vital for proper operation during milling. The main components are the spindle, control panel, tool holder, and moving axis.
Conclusion:
In modern dentistry, knowing how to use a dental milling machine is a basic skill for dentists. You can confidently operate the machine by following the steps of using a dental milling machine outlined in this article. Also, you can familiarize yourself with dental milling machine safety tips to follow during dental milling machine usage. This article will surely help you in using a dental milling machine like Aidite AMM-580 Dental Milling Machine without any difficulty. It is the best choice for all professionals and clinics to improve their workflow and deliver the best results.